
Mallorca 🇪🇸
Plugin solar kit Performance 800 Flat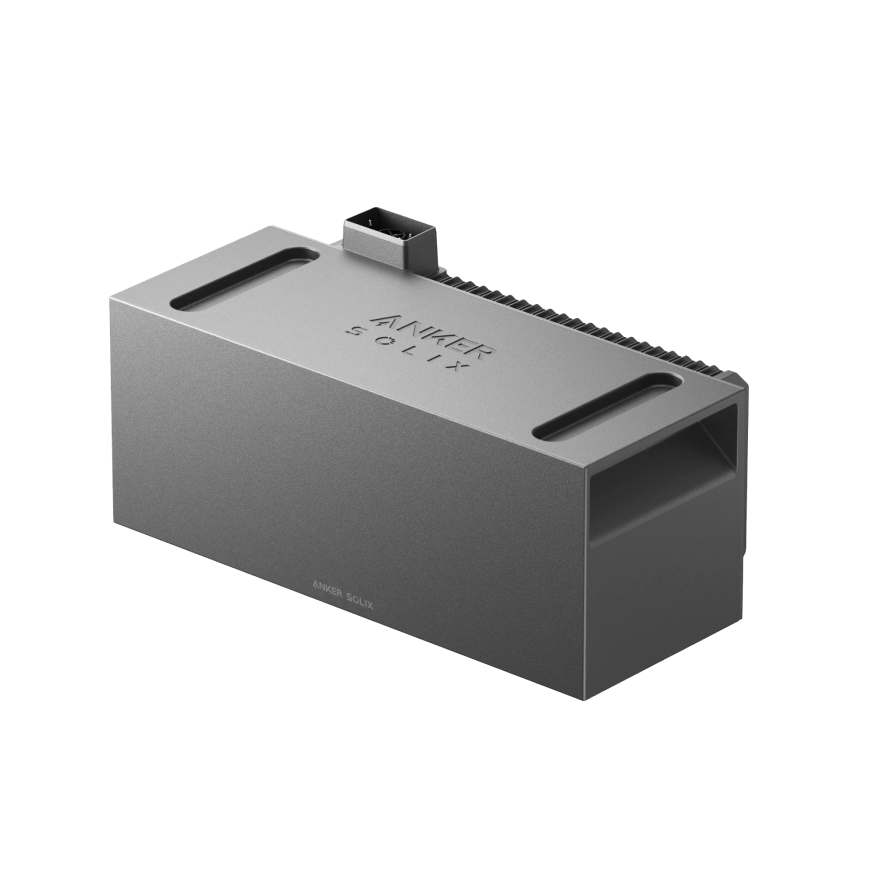
Free shipping in mainland Spain, Portugal and Balearic Islands
Delivery time: 3 weeks from order
What’s in the box?
Installation guide: Anker Solix BP1600 Expansion Battery
User manual: Anker Solix BP1600 Expansion Battery
Choose options
Delivery time: 3 weeks from order
What’s in the box?
Installation guide: Anker Solix BP1600 Expansion Battery
User manual: Anker Solix BP1600 Expansion Battery

As easy as 1, 2, 3!
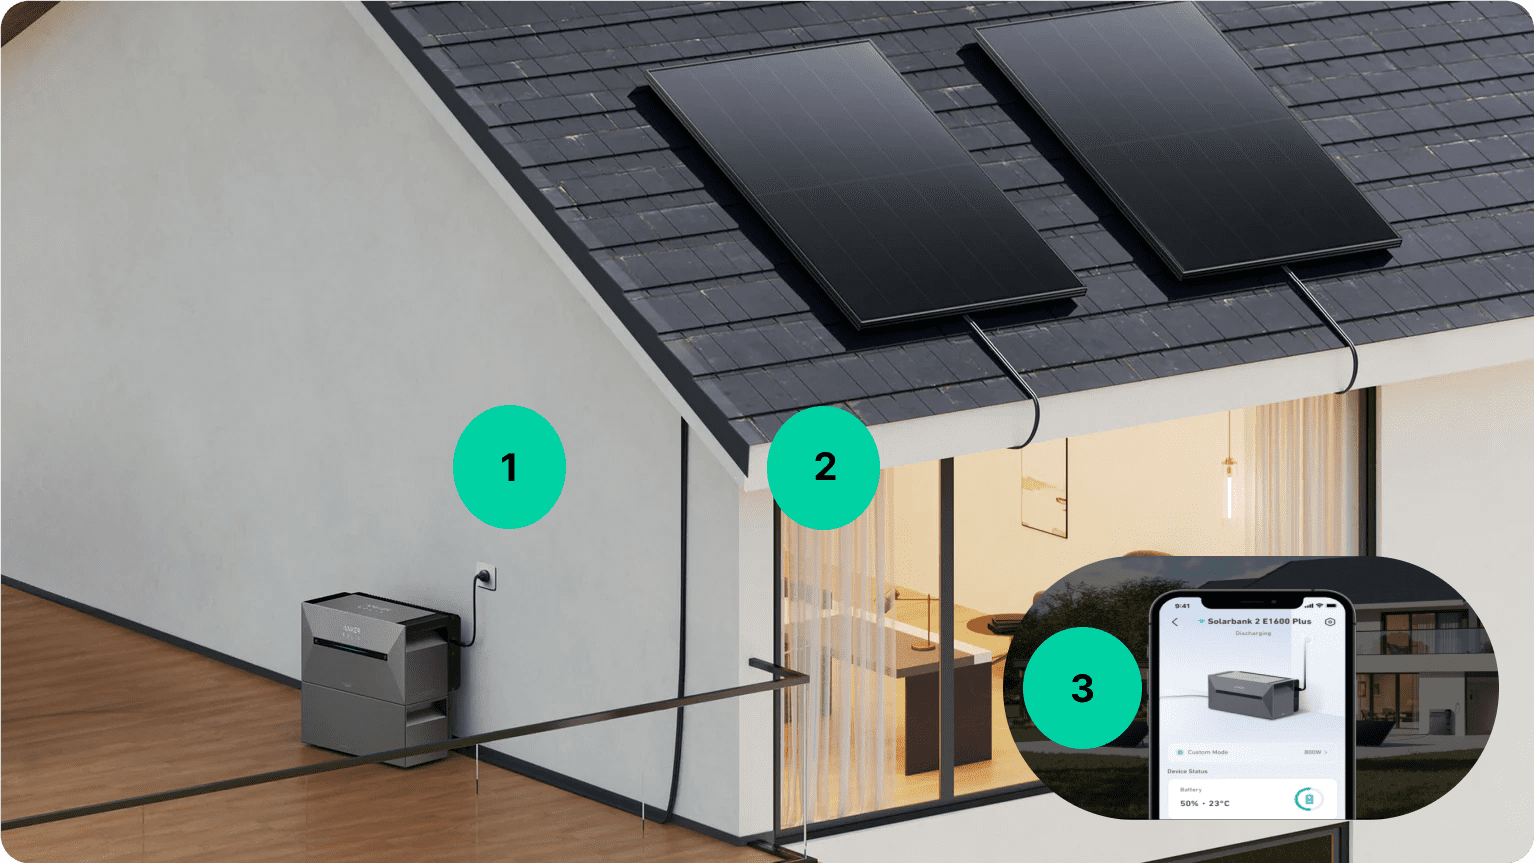
Connect the solar panels to the battery using the MC4 cables
Connect the battery to the grid
Configure the battery in your mobile app

Mallorca 🇪🇸
Plugin solar kit Performance 800 Flat


Las Palmas 🇪🇸
Plugin solar kit Performance 800 Tile Roof
Lanzarote 🇪🇸
Solar kit Plus 2000

Alportel 🇵🇹
Plugin solar kit Performance 800 Flat
Alicante 🇪🇸
Solar kit Plus 2000
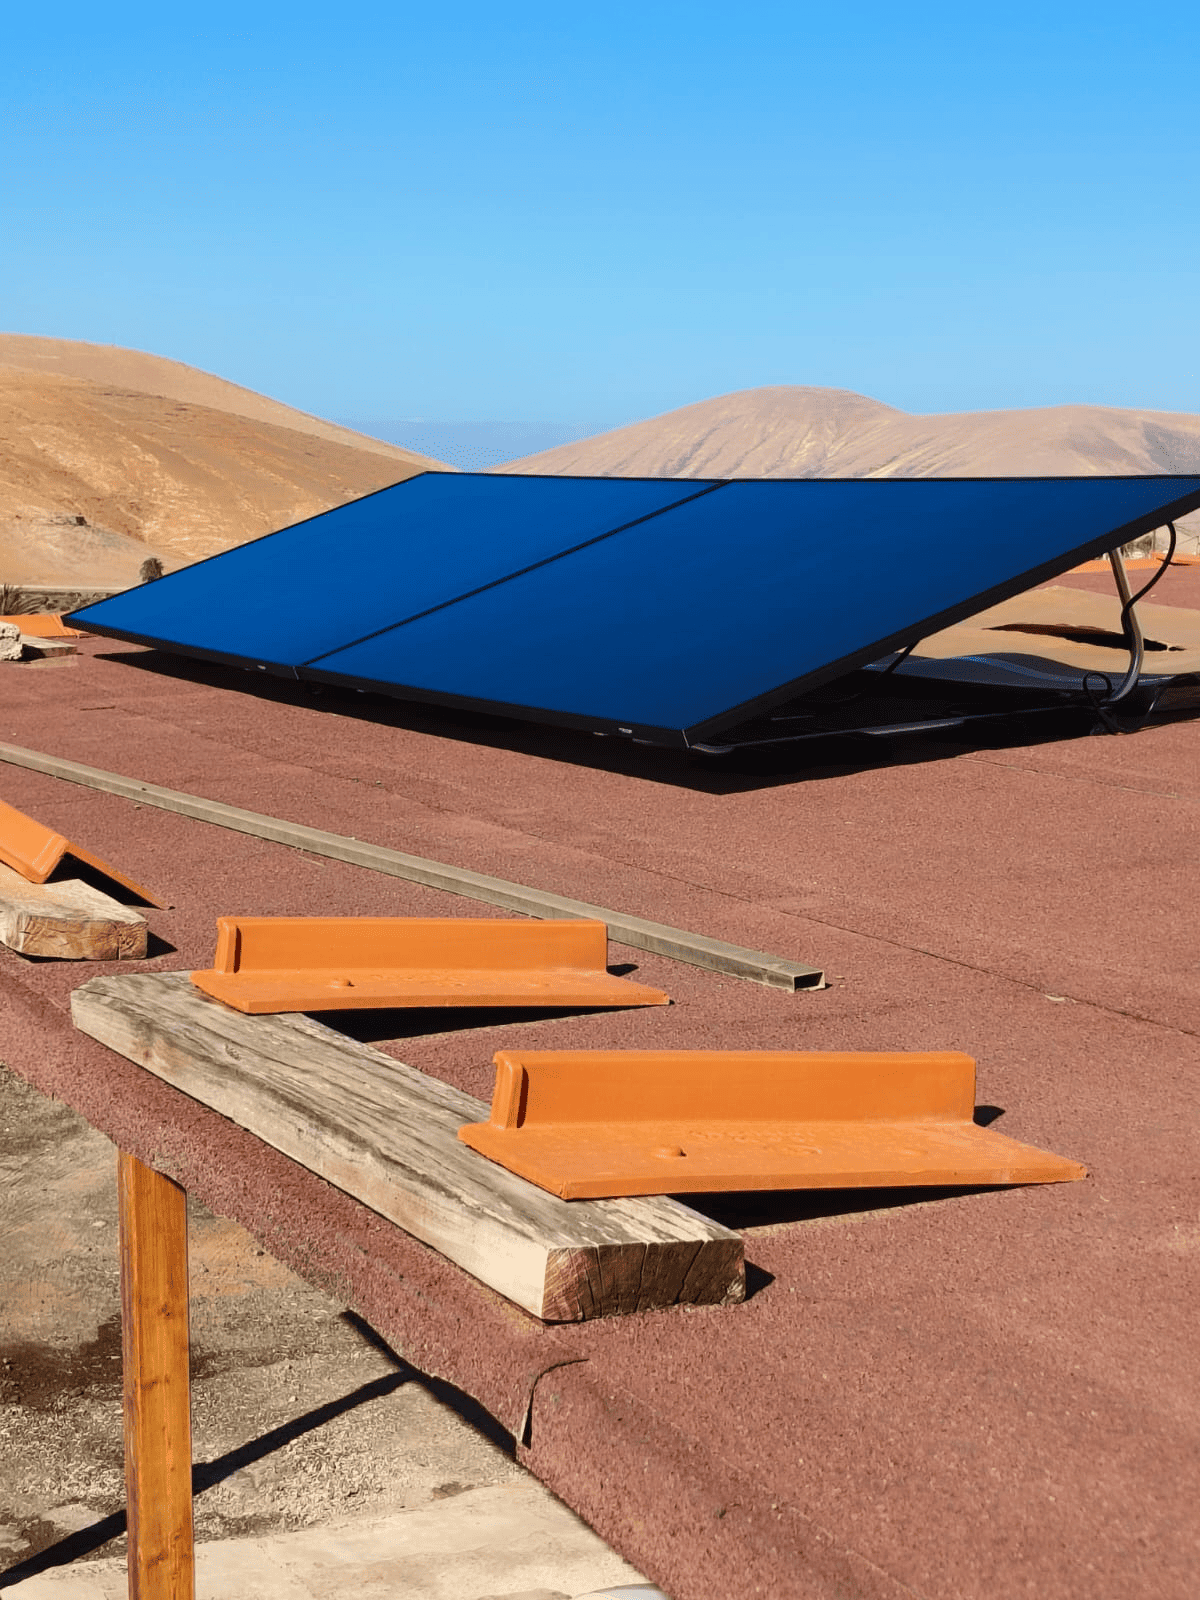
Fuerteventura 🇪🇸
Plugin solar kit Performance 800 Flat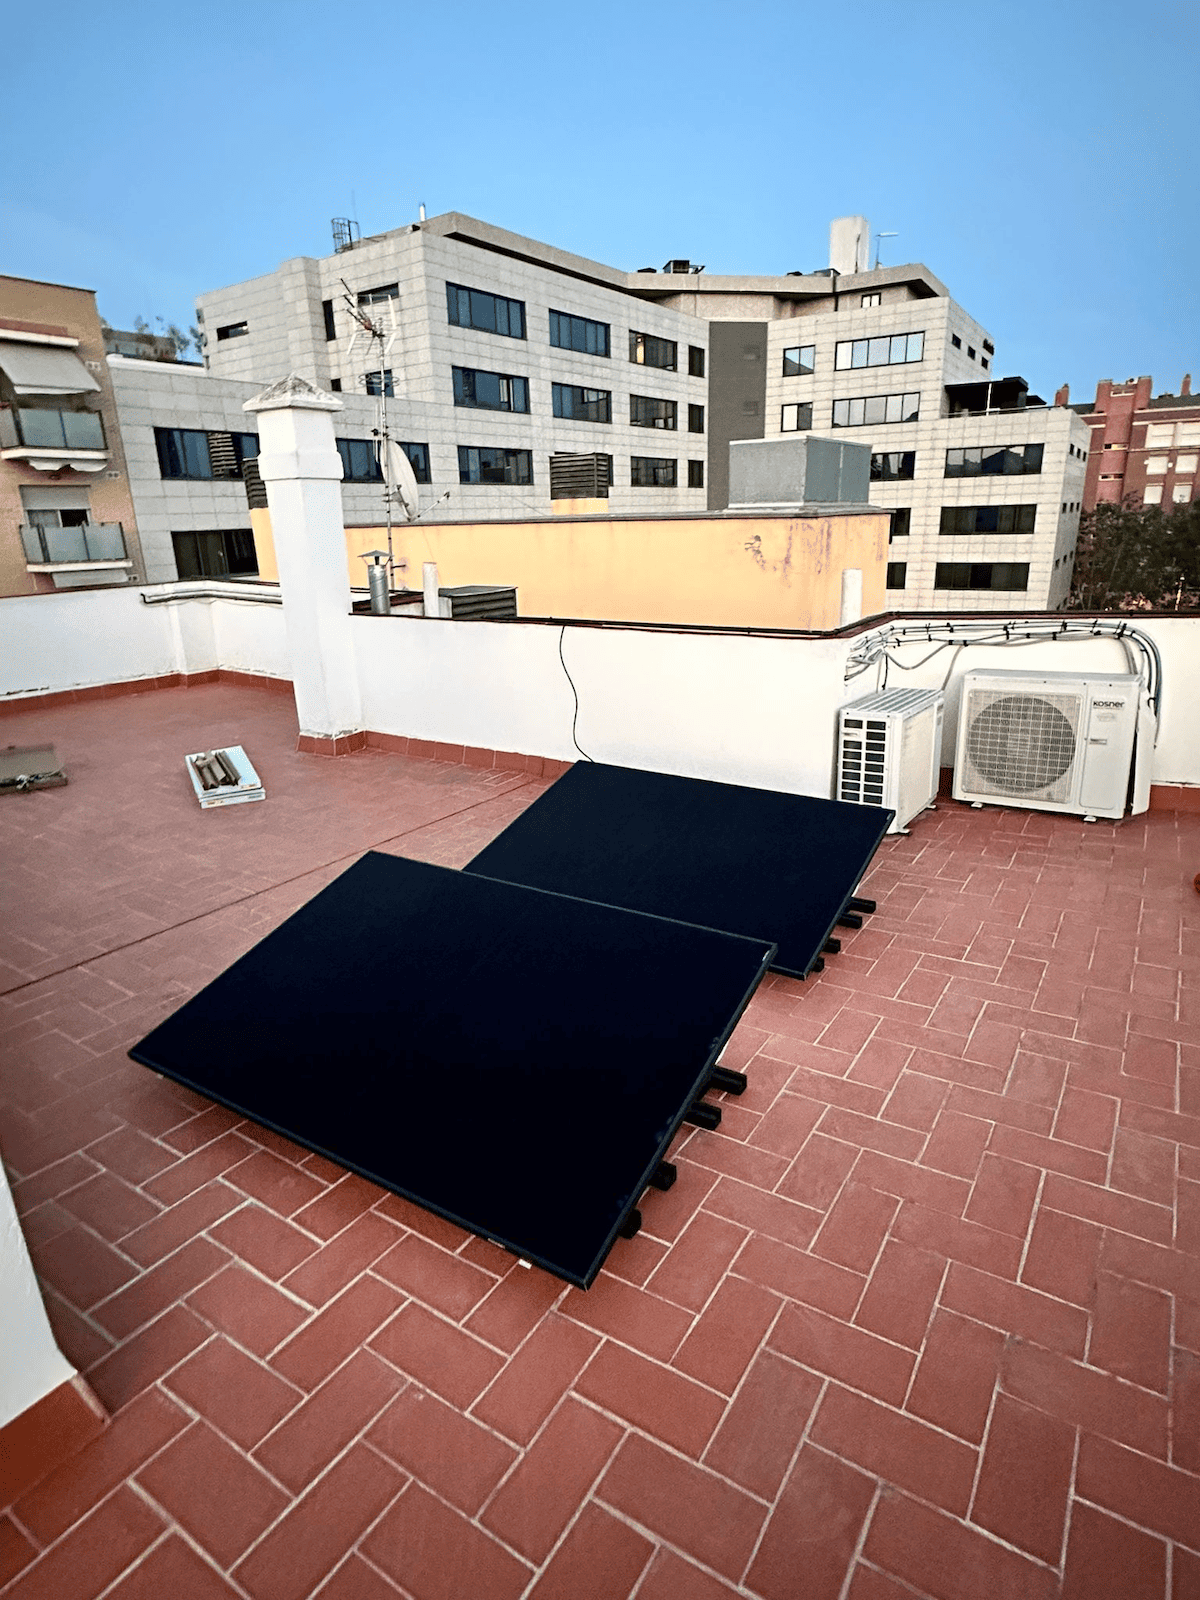
Barcelona 🇪🇸
Plugin solar kit Performance 800 Flat


