Robinsun launches new wall mounts
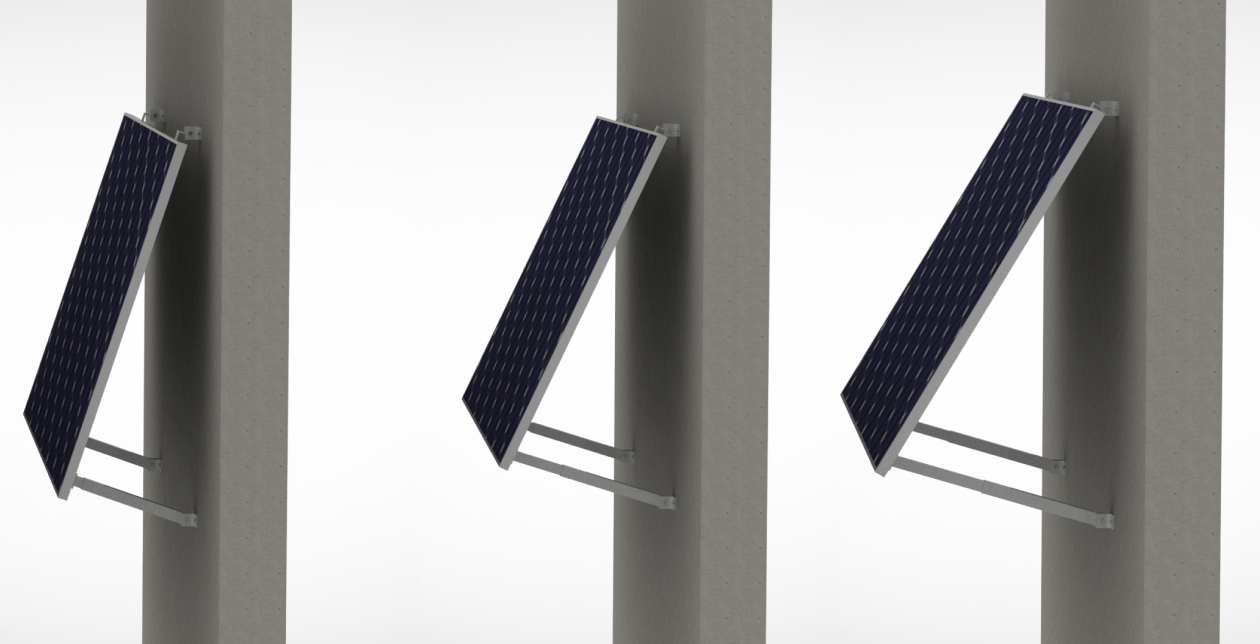
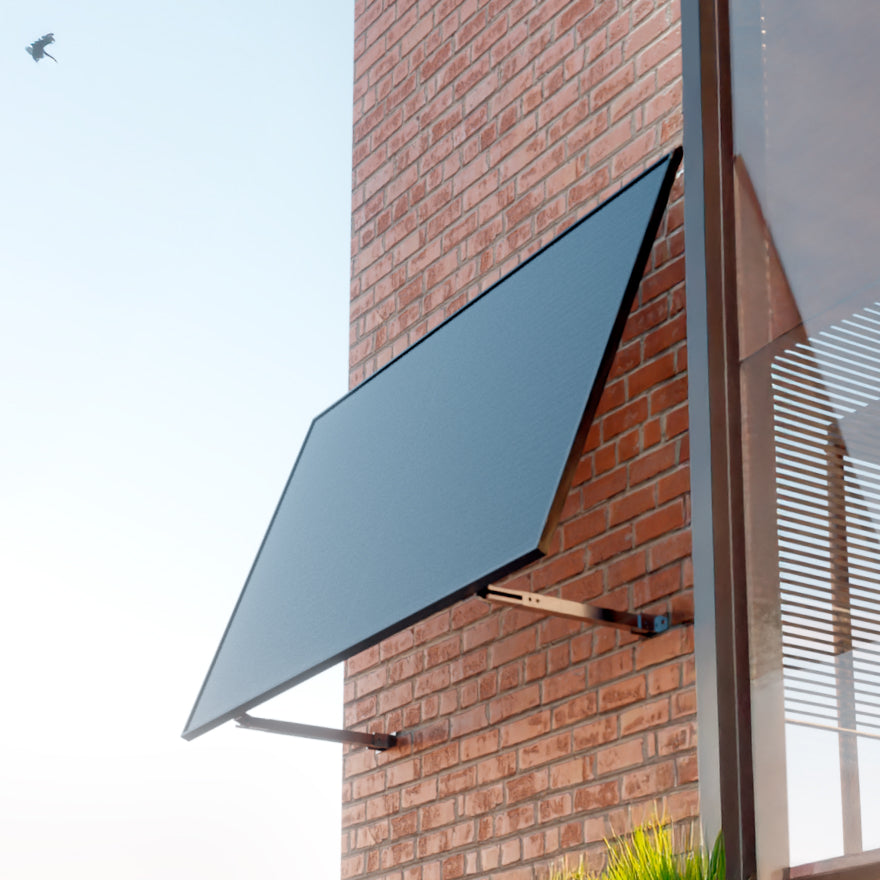
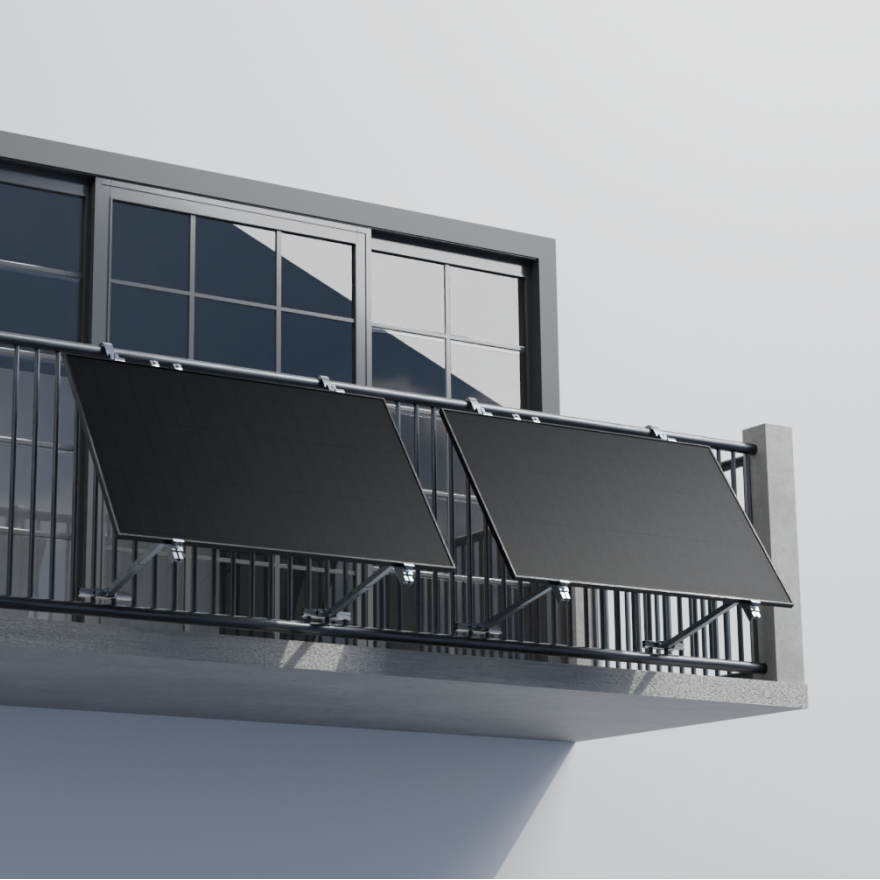
At Robinsun, we continue to update our products to create a better experience for our customers at all times. We are excited to announce that we are launching a new wall mount which is lighter, more flexible and space-saving. Installing it is even easier than our previous wall mounts. And the best feature is a flexible angle for your solar panels from 10° to 60°. In this blog, we will explain to you how the new wall mount works and why you should buy it.
Components
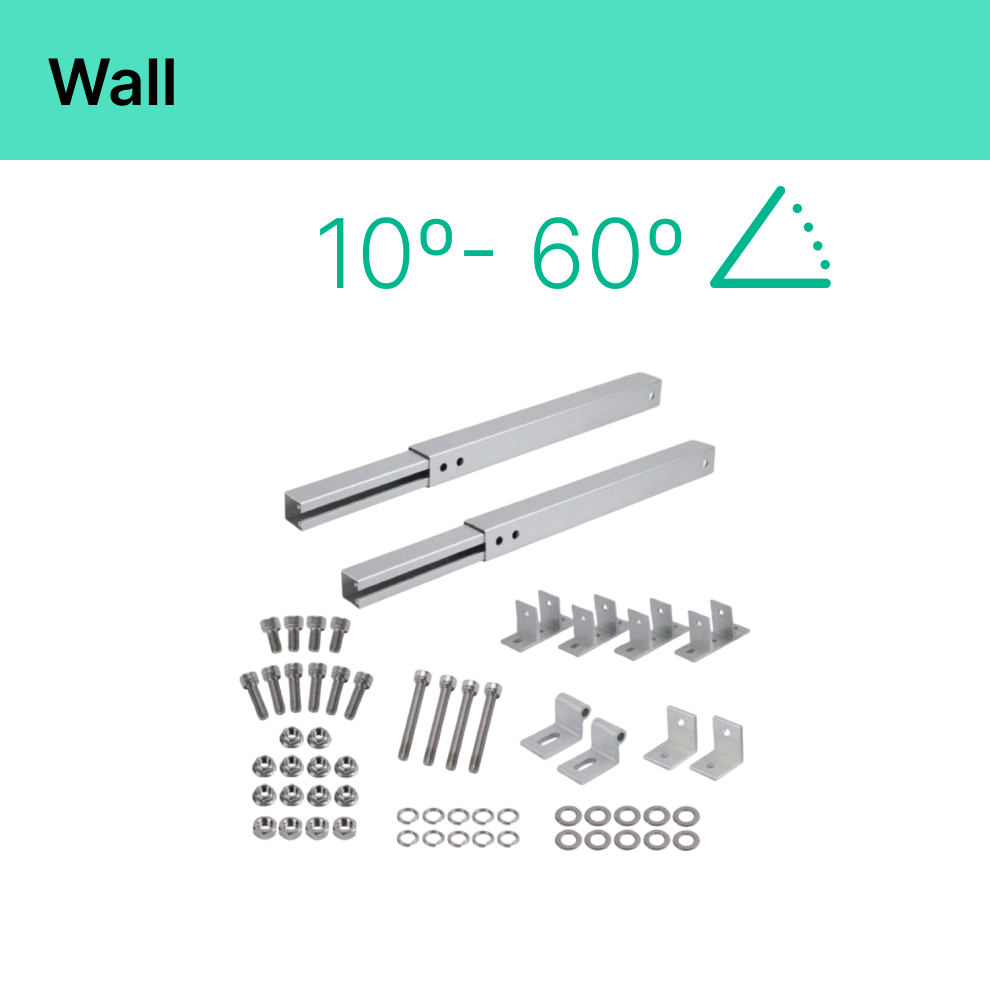
The new wall mount set is composed of:
- 2 x Extension brackets (to adjust the height)
- 2 x Top brackets (to change the angle)
- 8 x ST 6.3*80 mm self-tapping screws (to fix the bracket on the surface)
- 1 x Dowel set
- 4 x Waterproof rubber pads

Benefits
This new wall mount has several features that are beneficial to your installation:
Adjustable angle: With the screws and expandable brackets, our new mount is more flexible in angles. When seasons change, you can adjust the angle accordingly and ensure the solar panels face to the sun more directly. By changing the angle, you can receive the most sunshine possible throughout the year and improve the energy production.

Anti-corrosive and durable: The new wall mount is made of aluminum alloy AL6005-T5. It has a light weight but offers high bearing capacity and strong corrosion resistance, making it suitable for all environments.
Safe and stable: The structure of our new wall mount fully takes into consideration the bearing, wind resistance, seismic and other factors, and ensures a reliable installation through strict calculation and testing.
Easy installation: The installation of this wall mount is simple. Follow our installation guide below and that comes with your order, the installation should be set up in minutes.
Suitable for various locations: Our wall mount can also be used on different other surfaces, like flat surfaces with thin metal plates and non-metallic materials such as plastic and wood. Contact us for more information.
Installation guide
- The installation of our new wall mount is easy, and can be done in a short time by two people.
- Install the top brackets on the frame of the solar panel.
- Measure the length between the 2 brackets. Determine where you want to install the solar kits on the wall, mark the point, and drill the 2 holes on top.
- Adjust the extension brackets to the length that you want.
- Fix the extension brackets on the solar panel.
- Fix the foot brackets on the wall, adjust the solar panel and mark the location of the extension brackets on the wall. Remove the solar panels. Drill the holes.
- Fix the top brackets first then the extension brackets on the wall. The solar kits should be installed stably on the wall.
Conclusion
Our new wall mount offers more flexibility to adapt to different seasons and changes of sunshine directions, improving the production greatly. The new wall mount perfectly matches our solar panels. Contact us via email, WhatsApp or call us directly if you have any questions.




2 comments
Olá Joaquim! Parece uma ideia excelente aproveitar a sua varanda para instalar os painéis solares! Se precisar de mais informações sobre a instalação ou tiver alguma dúvida, não hesite em entrar em contacto connosco. Estamos aqui para ajudar!
Robinsun
Pretendia colocar 4 painéis na varanda do meu andar (6º) virada a sul.
Joaquim Pinto
Leave a comment
This site is protected by hCaptcha and the hCaptcha Privacy Policy and Terms of Service apply.